
ADSL Router Setup For Nepal Telecom Internet | ADSL Router Setup Nepal
Setting up the ADSL router is not a difficult task to configure. If you have the proper knowledge of how to configure it. Some people know the configuration but cannot find the username and password for the configuration.
I am here for help setting up your router. You can easily configure it after reading this blog. Let's start our blog.
| Table Of Contents |
|---|
1) See the Router Back Panel for some information
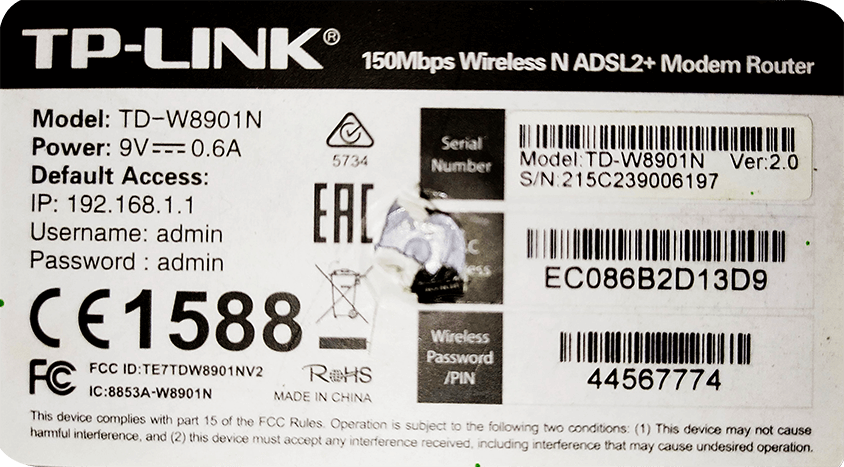
First Up all you have to See Some things in router back panel:
Username: admin
Password: admin
IP: 192.168.1.1
Note: On most routers, the default username and password are admin and IP is 192.168.1.1, but not on all routers, so you should see it first on the back panel of the router.
If you are using a mobile device to configure, you must first obtain a password on the rear panel of the router to connect.
2) Router IP LOGIN
Go to your device through LAN or WIFI to configure and go to the IP (192.168.1.1 in most of the router) for CONFIGURATION in any Internet browser.
3) Tplink Router LOGIN Dashboard
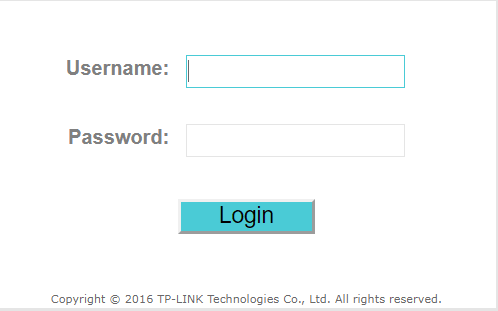
Log in to the router using the username and password on the back panel of the router.
4) Tplink Main Dashboard
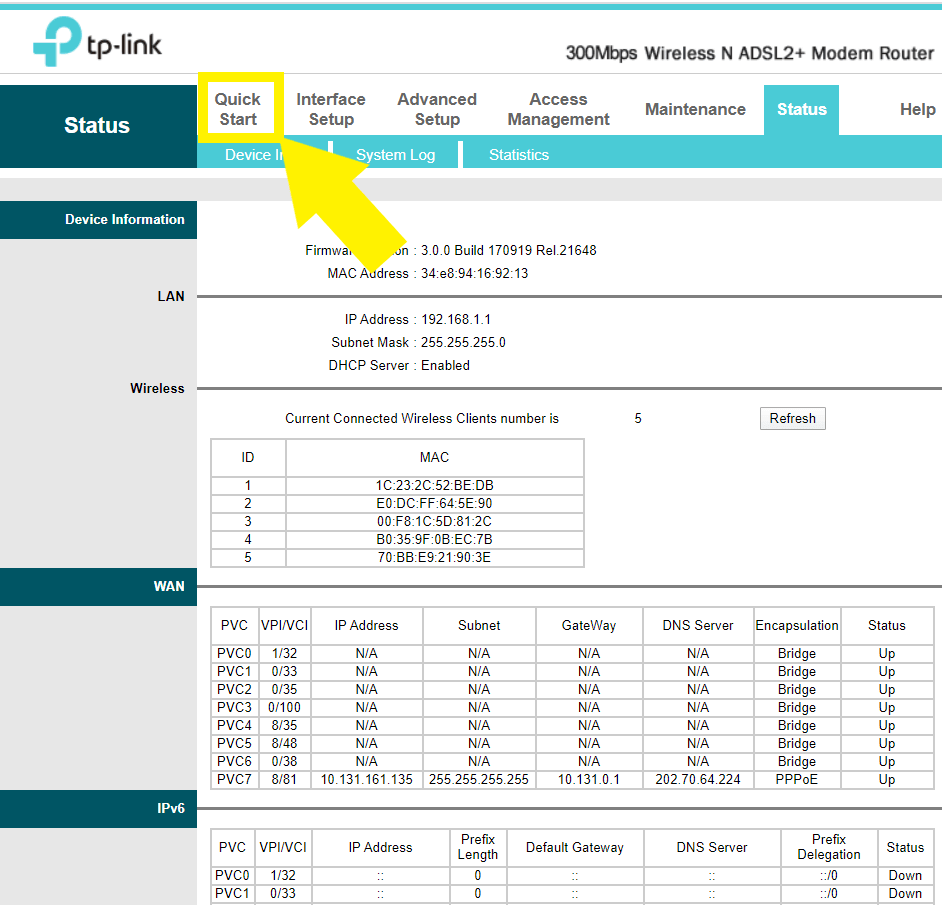
Go to Quick Start for Setting your Internet Configuration.
5) Quick Start Tplink Dashboard
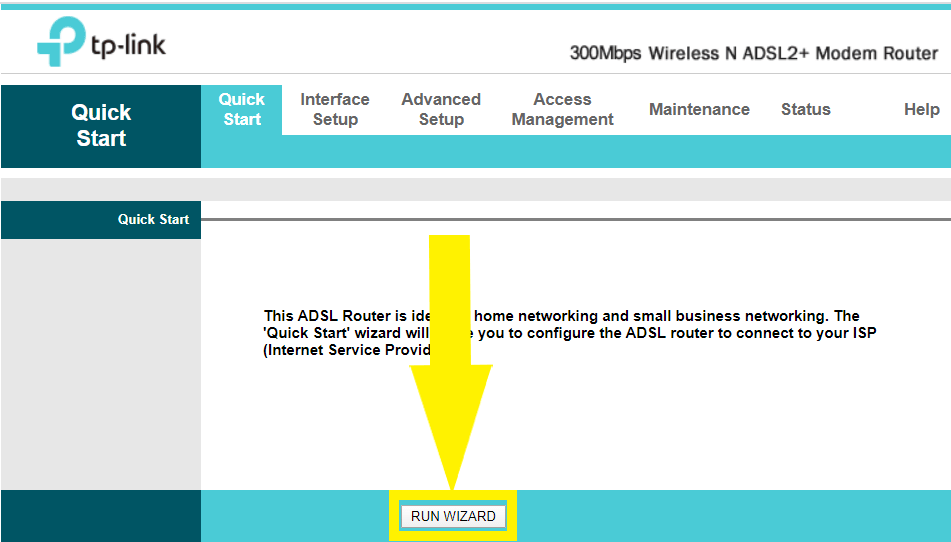
Click on Run Wizard
6) Quick Start Section
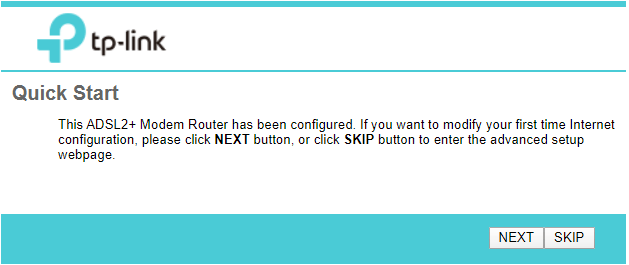
7) Timezone Section Tplink
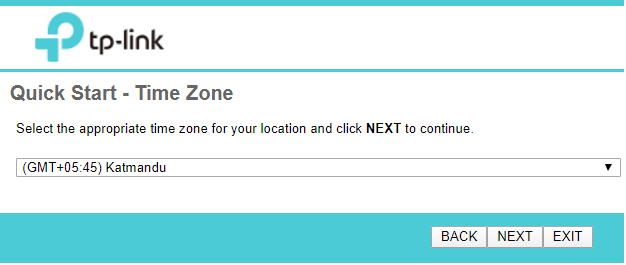
Select for Time Zone If you want or leave as it is and click on NEXT.
8) Main Configuration For internet connectivity Of ADSL

Counrty: Select if any available or select other
ISP: Select if any available or select other
Username: Provided by ISP (Eg:
adsl82****** )
Password: Provided by ISP (Eg:
adsl82****** )
VPI: 8
VCI: 81
Connection Type: PPPoE LLC
Note: Username and Password are adsl+landline_number (Eg: adsl82****** remove 0 of first landline number) or NTADSL+landline_number (Eg. NTADSL082****** no need to remove 0 here.)
and Click on NEXT.
9) Wifi settings in tplink
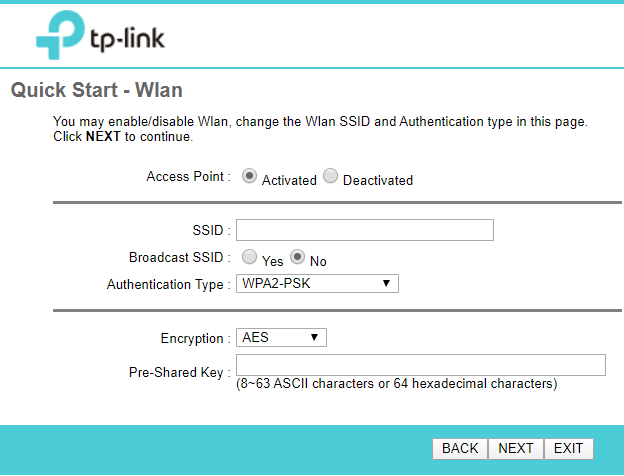
SSID: As Your Refer WiFi Name
Broadcast SSID: Set Yes if you want to show wifi
else Set No if you want to hide your WiFi.
Authentication Type: Set As you prefer WPA-PSK or
WPA2-PSK or Both .
Encryption: AES
Pre-Shared Key: Your refer Password for WiFi.
and Click on NEXT.
9) Save Settings Section in Tplink
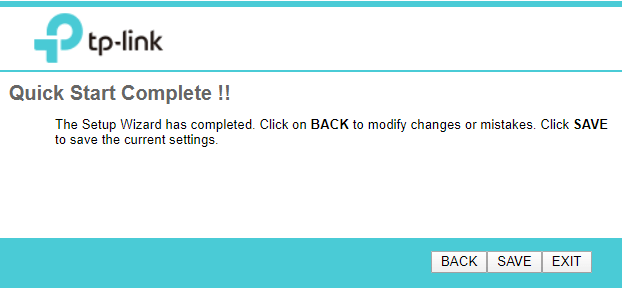
Click on SAVE to set the configuration.


