Learn Google Forms Tools | Create Advance Form | Google Forms
Google Form is the platform where the many pepole use it for collect the information through it.
Many people use it for the registration process and collect the data they required in forms.
Making the forms using this Google Forms make easier. We can easily made the form by adding the elements in the forms. We can divide the section to showcase the different type of required information section.
We can set the input field required, which should be must filled. We also can set input verification like phonenumber, real character string etc.
Table Of Contents
Opening the Google Form
First Up of all, We should go to Google Form in any browser.
You should sign in through any google account to access it.
Creating Google Forms
After sign in, we reach in the google form interface where we can create the google form by using readymade template or self create.
Readymade templates are help for the quick making the template whereas custom form is useful for own type of form.

In above Image, We can see the template gallery for readymade templates. We can also see the blank button to create the custom form.
Types Of Google Inputs
After creating any forms, We can choose the inputs.
- Types:
- Short Answer
- Paragraph
- Multiple Choice
- Checkboxes
- Dropdown
- File Upload
- Date
- Time
- Linear Scale
- Multiple Choice Grid
- Checkbox Grid
Short Answer
This is the type of question whose answer can be given in one line.

Paragraph
When we want long answer from the user then we use paragraph input. It is help to get the some description about person.

Multiple Choice
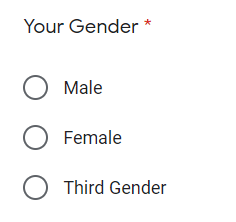
When the question have options whose directed the personal choice this is good type.
Like: If we want to ask gender then we can use this. It has multiple choice according to person.
Checkboxes
When the question have options whose can be multiple answer also then it is suitable type.
Like: If we want to ask learned programming skills then we can use this.

Dropdown
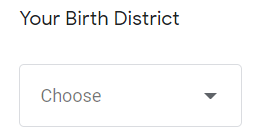
When we have a lot of option regards the question then we use dropdown.
Like: We want user district which is alot of options to showcase.
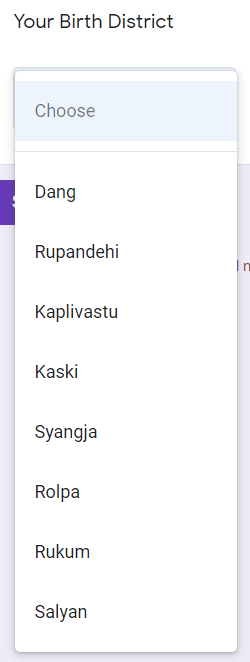
We expand the dropdown our option see like this. We can select only one option.
File Upload
When we want any files regards the form then we use file upload.
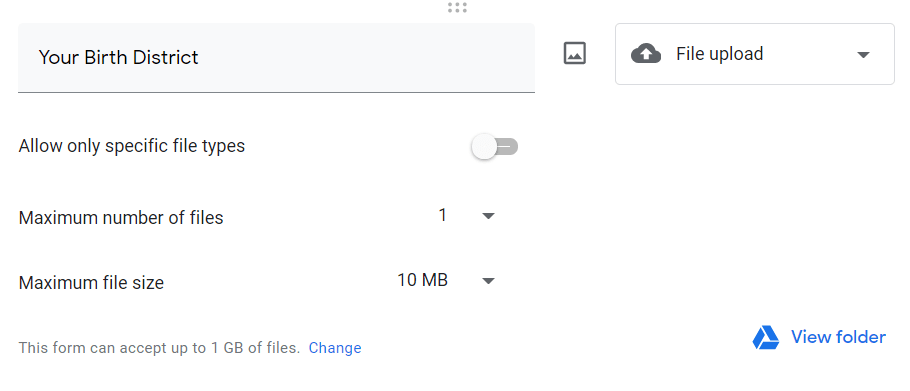
We can set the upload parameter to prevent wrong file upload.
Date
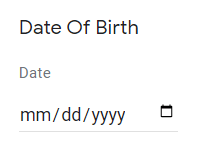
This is use when we want any date of particular event.
Time
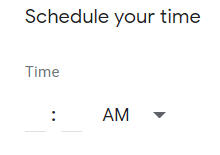
This is use when we want any time of particular event
Linear Scale
Linear scale is use to get the input between range of data.
This is useful for the getting the value in range. Like: Star rating.

Multiple Choice Grid
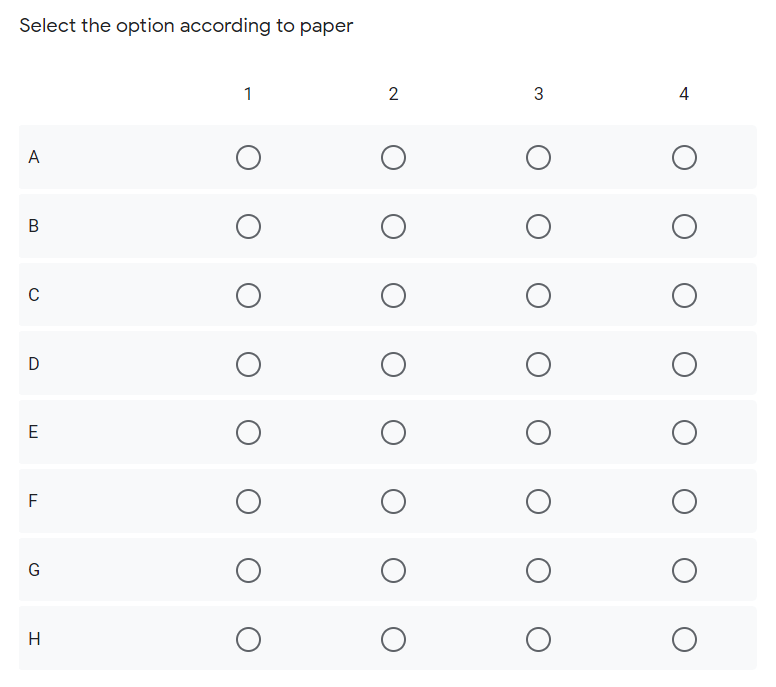
When the multiple questions has same options then we can use this type of form input.
This is same like the multiple choice with multiple choice.
Checkbox Grid
When the multiple questions has same options and can be multiple answers then we can use this type of form input.
This is same like the Checkbox.
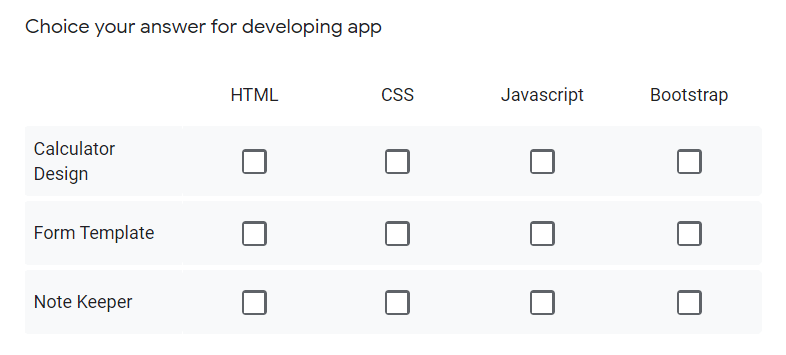
Customize of Forms Inputs
When we editing the form. We have to change the labels according to the required label and particular type of form inputs.

We can set the form inputs to be required to fill by the users. We can set image to showcase input question also.
We can add multiple questions by click on plus button. We can also import question whose pre-built. We can add section title and description also. We can sectioning the questions list according to the your requirements.
Setting the Form validation
We have different types of advance validation. We mustly use validation on short answer field.
Here, I perform the setting the validation of email. Below, I set the way of validation and test the validation.
We can set the form advance validation by click on down right button 3 dots.
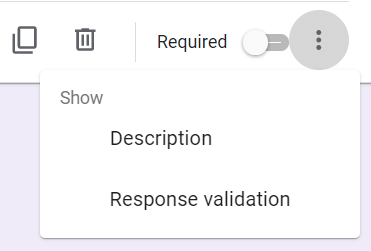
In above image, after clicking in 3 dots we see small box where we can select response validation as advance validation.
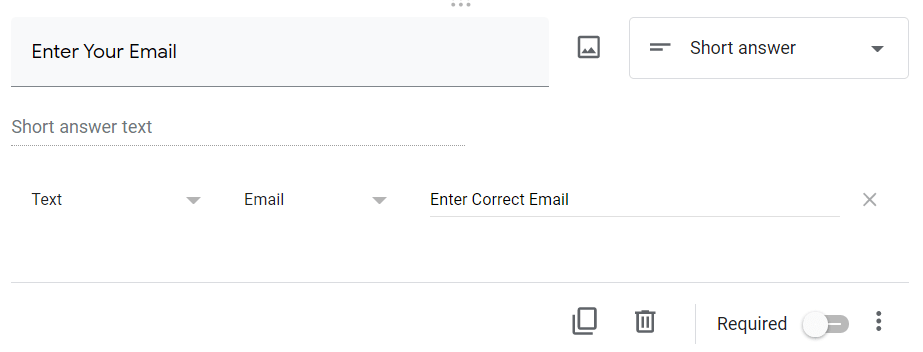
After clicking in response validation, we can see below setting type dropdown where we can set any type of validation given.
Here, I set the text validation where text must be email and If anyone enters the wrong email then error message show as "Enter Correct Email".
Testing the validation by previewing the email.
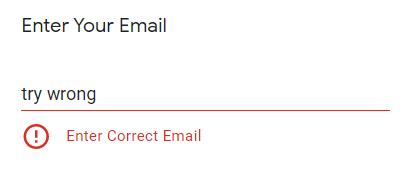
In image, I enter the wrong email and see the error for wrong value of email.

After enter the correct email, we can see the error disappear. By this method, we can set the validation which are important to prevent from entering the wrong value.


